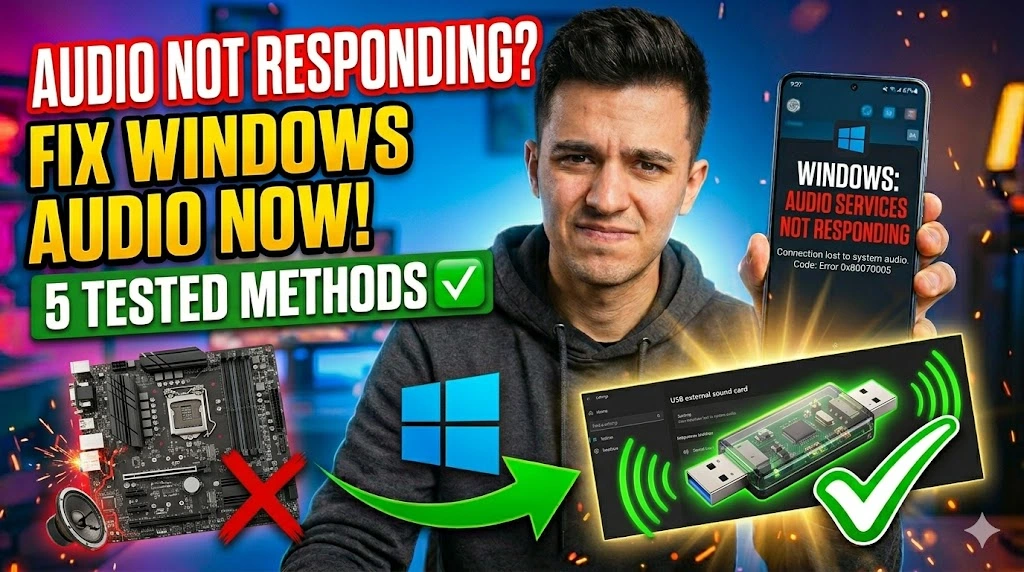
If you just right-clicked the sound icon in your taskbar and Windows threw back the message “Audio Services Not Responding,” you’re not alone — and you’re definitely not stuck. This error means Windows can’t communicate with the Windows Audio service that manages all sound output on your system. It typically surfaces after a Windows Update goes sideways, a third-party driver conflicts with the audio stack, or the Windows Audio Endpoint Builder service crashes silently in the background.
The frustrating part? Your speakers and headphones are physically fine. The hardware isn’t the problem — Windows simply lost its grip on the software layer that routes audio. Before you dig into driver reinstallations or panic about hardware failure, try the five methods below. Each one targets a specific layer of the problem, ordered from the fastest 30-second fix to more surgical approaches. Most users resolve this within the first two methods.
Technical Specifications
| Technical Detail | Specification / Requirement |
|---|---|
| Target Platform | Windows 10, Windows 11 (all editions) |
| Error Type | System Service Failure / Audio Stack Crash |
| Affected Component | Windows Audio Service, AudioEndpointBuilder |
| Difficulty Level | Beginner to Intermediate |
| Estimated Fix Time | 5 – 25 minutes |
| Tools Required | Services.msc, Device Manager, Registry Editor (optional) |
| Admin Rights Needed | Yes — for service restarts and driver changes |
Method 1: Restart the Windows Audio Services Manually
This is the fastest fix and resolves the error for most users. When the audio service crashes, Windows doesn’t always restart it automatically — you have to push it yourself.
- Press
Windows + Rto open the Run dialog, then typeservices.mscand hit Enter. This opens the Services console where every background Windows process lives. - Scroll down and locate the service named Windows Audio. Right-click it and select Restart. If it shows “Stopped,” click Start instead.
- Find the Windows Audio Endpoint Builder service directly below it. Right-click and Restart this one too — it manages the audio hardware endpoints and must run alongside the main service.
- Look for Remote Procedure Call (RPC) in the same list. Audio services depend on RPC to function; if it’s stopped, everything else breaks. Confirm it shows Running.
- Close the Services window, then right-click your taskbar sound icon and select “Troubleshoot sound problems” to confirm the error is gone.
Method 2: Run the Built-in Audio Troubleshooter
Windows ships with a dedicated audio troubleshooter that can detect and auto-repair common service misconfigurations. It’s worth running before you touch any drivers.
- Open Settings with
Windows + I, then navigate to System → Troubleshoot → Other Troubleshooters (Windows 11) or Update & Security → Troubleshoot → Additional Troubleshooters (Windows 10). - Click on Playing Audio and select Run the Troubleshooter.
- Follow the on-screen prompts. When asked which device to diagnose, select your primary audio output (speakers or headphones).
- Apply any fixes the troubleshooter suggests and allow it to restart audio services if prompted.
- Restart your PC after the process completes — some service-level fixes only take effect after a full reboot.
Method 3: Set Audio Services to Start Automatically
Even if you restart the services manually, they’ll crash again at the next reboot if their startup type is set to Manual or Disabled. This method locks them into automatic startup so Windows always initialises audio correctly.
- Open
services.mscagain via the Run dialog (Windows + R). - Double-click on Windows Audio to open its Properties panel.
- Change the Startup type dropdown from Manual or Disabled to Automatic. This tells Windows to launch the service before you even log in.
- Click Start under Service status if the service isn’t already running, then click Apply → OK.
- Repeat the exact same steps for Windows Audio Endpoint Builder — both services need Automatic startup type to stay in sync.
- Reboot your machine and test your audio.
Method 4: Reinstall or Roll Back the Audio Driver
A faulty driver update is one of the most common triggers for this error. If Methods 1–3 didn’t hold, your audio driver is likely corrupted or incompatible with your current Windows build.
- Right-click the Start button and select Device Manager from the quick menu.
- Expand the Sound, video and game controllers section by clicking the arrow beside it.
- Right-click your audio device — it typically shows as something like “Realtek High Definition Audio” or “Intel Smart Sound Technology” — and select Properties.
- Switch to the Driver tab. If a recent update broke things, click Roll Back Driver to revert to the previously working version. This option greys out if no previous version is stored.
- If rollback isn’t available, click Uninstall Device instead. Check the box that says “Delete the driver software for this device” and confirm. Windows will automatically reinstall a generic driver on the next restart, which often resolves conflicts.
- Restart your PC. Windows will detect the device and install a clean driver automatically.
Method 5: Repair Corrupted System Files with SFC and DISM
If every method above failed, corrupted Windows system files are likely preventing audio services from initialising correctly. The SFC (System File Checker) and DISM tools scan and repair these files from the Windows image itself.
- Click the Start menu, type
cmd, then right-click Command Prompt and select Run as Administrator. Admin rights are mandatory — the scan won’t repair anything without them. - Type the following command and press Enter. This runs the System File Checker, which compares every protected file against a cached copy and replaces anything corrupted:
sfc /scannow - Wait for the scan to complete — it typically takes 10–15 minutes. Do not close the window mid-scan.
- Once SFC finishes, run the DISM tool to repair the Windows image itself if SFC found unresolvable errors:
DISM /Online /Cleanup-Image /RestoreHealth - Restart your PC after both tools finish. Then open
services.msc, confirm Windows Audio is Running, and test your sound.
Frequently Asked Questions
Why does the “Audio Services Not Responding” error keep coming back after restarting?
If the error reappears every time you reboot, the Windows Audio service startup type is almost certainly set to Manual rather than Automatic. Follow Method 3 above to lock both Windows Audio and Windows Audio Endpoint Builder into Automatic startup. Additionally, some third-party audio enhancement software — like Nahimic or Sonic Studio — can conflict with the native Windows audio stack and repeatedly crash services. Check your installed programs for any such tools and disable or uninstall them temporarily to test.
Will reinstalling the audio driver delete my sound settings or equaliser presets?
Uninstalling the driver removes the software layer, not your personal settings stored in Windows. However, any presets saved inside third-party audio control panels (like Realtek Audio Console or Dolby Atmos settings) may reset. Take a screenshot of your equaliser configuration before proceeding with driver reinstallation so you can reconfigure quickly afterwards.
Can a Windows Update cause the “Audio Services Not Responding” error?
Yes, this is a documented and relatively common occurrence. Certain cumulative updates — especially driver-package updates — can overwrite or conflict with an existing audio driver, causing services to fail silently. If your audio broke immediately after a Windows Update, use Device Manager’s Roll Back Driver option (Method 4) or use System Restore to revert to the pre-update state. You can also temporarily pause future updates under Settings → Windows Update → Advanced Options while you investigate.