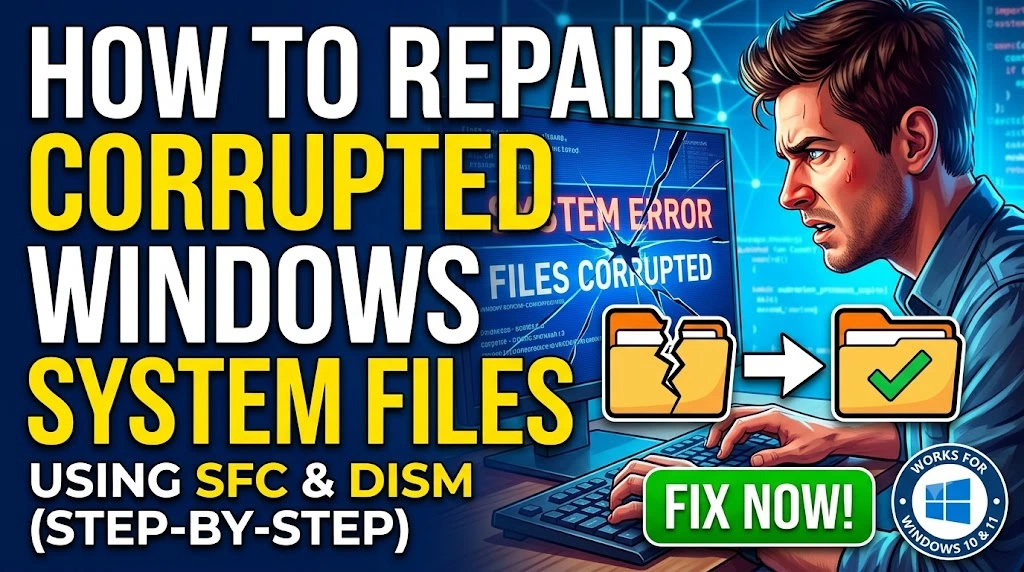
Home › OS & Software Fixes › Repair Corrupted Windows System Files
If your Windows PC has been crashing unexpectedly, throwing random blue screens (BSOD), or refusing to update, corrupted system files are almost certainly the culprit — and you’re definitely not alone. This is one of the most common Windows problems users report, and it can feel genuinely alarming when your PC starts misbehaving out of nowhere.
The three most common causes are an interrupted Windows Update, a sudden power failure during a write operation, and malware that tampers with core OS files. Fortunately, Microsoft built two powerful command-line tools specifically for this: SFC (System File Checker) and DISM (Deployment Image Servicing and Management). This guide walks you through four proven repair methods — ordered from quickest to most thorough — so you can get your PC stable again without reinstalling Windows.
📋 Technical Specifications
| Technical Detail | Specification / Requirement |
|---|---|
| Target Platform | Windows 10, Windows 11 (all editions) |
| Tools Used | SFC (System File Checker), DISM (Deployment Image Servicing and Management) |
| Administrator Access Required | Yes — all commands must run in an elevated Command Prompt or PowerShell |
| Internet Connection | Required for DISM /RestoreHealth (downloads repair files from Windows Update) |
| Difficulty Level | Beginner–Intermediate |
| Estimated Fix Time | 15–45 minutes (depending on drive speed and corruption severity) |
| Safe Mode Required | Only for Method 3 (stubborn, locked files) |
| Windows Version Tested | Windows 10 22H2, Windows 11 23H2 |
| Log File Location | C:\Windows\Logs\CBS\CBS.log |
Step-by-Step Repair Methods
Method 1: Run the SFC Scan (Your First Line of Defence)
SFC scans every protected Windows system file against a known-good cached copy and automatically replaces anything that’s broken. This is always the right place to start — it’s fast, safe, and handles the majority of common corruption issues without touching your personal files.
- Press Windows + X to open the Quick Link menu, then click Windows Terminal (Admin) or Command Prompt (Admin). Click Yes on the UAC prompt — admin rights are mandatory here.
- Type the following command exactly as shown and press Enter: sfc /scannow
- Wait for the scan to complete — it typically takes 5–15 minutes. You’ll see a progress percentage. Do not close the window mid-scan.
- Once finished, read the result message. You’ll get one of three outcomes: no violations found, corrupted files repaired successfully, or corrupted files found but unable to fix. The third outcome means you need to run DISM first (see Method 2).
Why this works: SFC references a protected file cache called the Windows Component Store. When a system file doesn’t match its expected hash, SFC pulls the correct version from the cache and overwrites the damaged one — no internet needed.
Method 2: Run DISM to Repair the Windows Component Store
When SFC reports it “could not fix” certain files, it means the repair cache itself is corrupted. DISM solves this by connecting directly to Windows Update servers, downloading a fresh, verified copy of the system image, and rebuilding the component store from scratch. Always run this before giving up on SFC.
⚠️ Before you start: Ensure you have a stable internet connection. DISM /RestoreHealth downloads data from Microsoft’s servers to complete the repair.
- Open an elevated Command Prompt or Terminal window (same steps as Method 1, Step 1).
- Run a quick health check first to see the current state of the Windows image: DISM /Online /Cleanup-Image /CheckHealth
- If it flags issues, run the full scan for deeper analysis: DISM /Online /Cleanup-Image /ScanHealth
- Now execute the actual repair command. This step contacts Windows Update and can take 10–30 minutes: DISM /Online /Cleanup-Image /RestoreHealth
- Once DISM finishes and reports “The restore operation completed successfully,” immediately re-run the SFC scan: sfc /scannow SFC can now draw from a fully repaired component store and fix files it couldn’t touch before.
Why this works: DISM targets the Windows image (.wim) that SFC depends on. If that source image is damaged, SFC has no clean reference to restore from. DISM fetches a verified image directly from Microsoft, giving SFC reliable material to work with on the follow-up scan.
Method 3: Run SFC in Safe Mode (For Locked System Files)
Some system files are actively in use during a normal Windows session — which means SFC can detect damage but cannot overwrite the running file. Booting into Safe Mode loads only the bare essentials, freeing up those locked files for repair. Use this method when Methods 1 and 2 still report unrepaired files.
- Open Settings (Win + I), navigate to System → Recovery, and click Restart Now under “Advanced startup.” Alternatively, hold Shift while clicking Restart from the Start menu.
- On the blue recovery screen, select Troubleshoot → Advanced Options → Startup Settings, then click Restart.
- When the Startup Settings list appears, press F4 to boot into Safe Mode (or F5 for Safe Mode with Networking if you also need internet access).
- Once Windows loads in Safe Mode, open Command Prompt as Administrator and run the SFC scan again: sfc /scannow
- After the scan completes, restart your PC normally and check if the issues are resolved.
Why this works: In Safe Mode, Windows runs without loading most drivers, third-party services, and many of its own background processes. This unlocks files that are ordinarily held open by the OS, making them accessible for SFC to replace cleanly.
Method 4: Use DISM with an Offline Windows ISO (No Internet Required)
If your internet connection is unreliable, metered, or completely unavailable, you can point DISM at a locally mounted Windows installation media instead of Windows Update servers. This is also the go-to method for enterprise environments or air-gapped systems. You’ll need a Windows ISO matching your installed version.
- Download the correct Windows ISO from Microsoft’s official website (microsoft.com/en-us/software-download/windows11) using another PC or phone if needed, and copy it to a USB drive.
- Mount the ISO by double-clicking it in File Explorer — Windows will assign it a drive letter (e.g., D:). Note that drive letter.
- Inside the mounted drive, the repair source file is located at
\sources\install.wim. Open an elevated Command Prompt and run: DISM /Online /Cleanup-Image /RestoreHealth /Source:D:\sources\install.wim /LimitAccess Replace D: with your actual ISO drive letter. The/LimitAccessflag forces DISM to use only the local ISO and skip Windows Update entirely. - Once DISM completes, run SFC one final time to apply any remaining file-level repairs: sfc /scannow
- Restart your PC and verify stability. If problems persist after all four methods, the issue may lie with hardware (failing HDD/SSD) rather than software — consider running chkdsk /f /r from an elevated prompt next.
Why this works: The local ISO contains a pristine install.wim image — identical to what DISM would download from Microsoft. By pointing DISM directly at it, you bypass any network dependency while still providing a fully verified repair source.
Frequently Asked Questions
How do I check the SFC log to see exactly which files were corrupted?
After running SFC, Windows writes a detailed log to C:\Windows\Logs\CBS\CBS.log. However, this file is large and difficult to parse manually. A quicker approach is to open an elevated Command Prompt and run findstr /c:"[SR]" %windir%\Logs\CBS\CBS.log > "%userprofile%\Desktop\sfcdetails.txt" — this filters only SFC-relevant entries and saves them to a readable text file on your Desktop. Look for lines containing “Cannot repair member file” to identify files SFC couldn’t fix, which then become your targets for the DISM offline repair method.
Does running SFC or DISM delete my personal files or installed apps?
No — neither SFC nor DISM touches your personal data, documents, photos, or installed applications. These tools operate exclusively on Windows OS files stored in protected system directories like C:\Windows\System32. They restore those files to their original Microsoft-issued state without affecting anything else on your drive. You can run them with complete confidence that your files are safe. The only scenario where data risk enters the picture is if you use the Reset this PC option or perform a clean Windows install — which is a completely separate operation not covered in this guide.
SFC says “Windows Resource Protection could not perform the requested operation” — what does that mean?
This specific error typically means SFC itself encountered a problem launching or accessing the repair cache — usually caused by a corrupted Windows Modules Installer service or a pending system transaction. The fastest fix is to open Services (services.msc), locate Windows Modules Installer, right-click it, and set its Startup type to Automatic, then start the service manually. After that, try running SFC again from an elevated prompt. If the error persists, boot into Safe Mode (Method 3) and attempt the scan from there, since Safe Mode prevents conflicting processes from interfering with SFC’s access to system directories.
Taazamind Editorial Team
We publish hands-on, tested troubleshooting guides for Windows, Android, and AI tools — focused on practical fixes over theory. All methods in this article were verified on Windows 10 22H2 and Windows 11 23H2 before publishing. Found an issue? Let us know.