QR Code Generator
Generate simple & advanced QR codes. Easy, customizable & trackable.
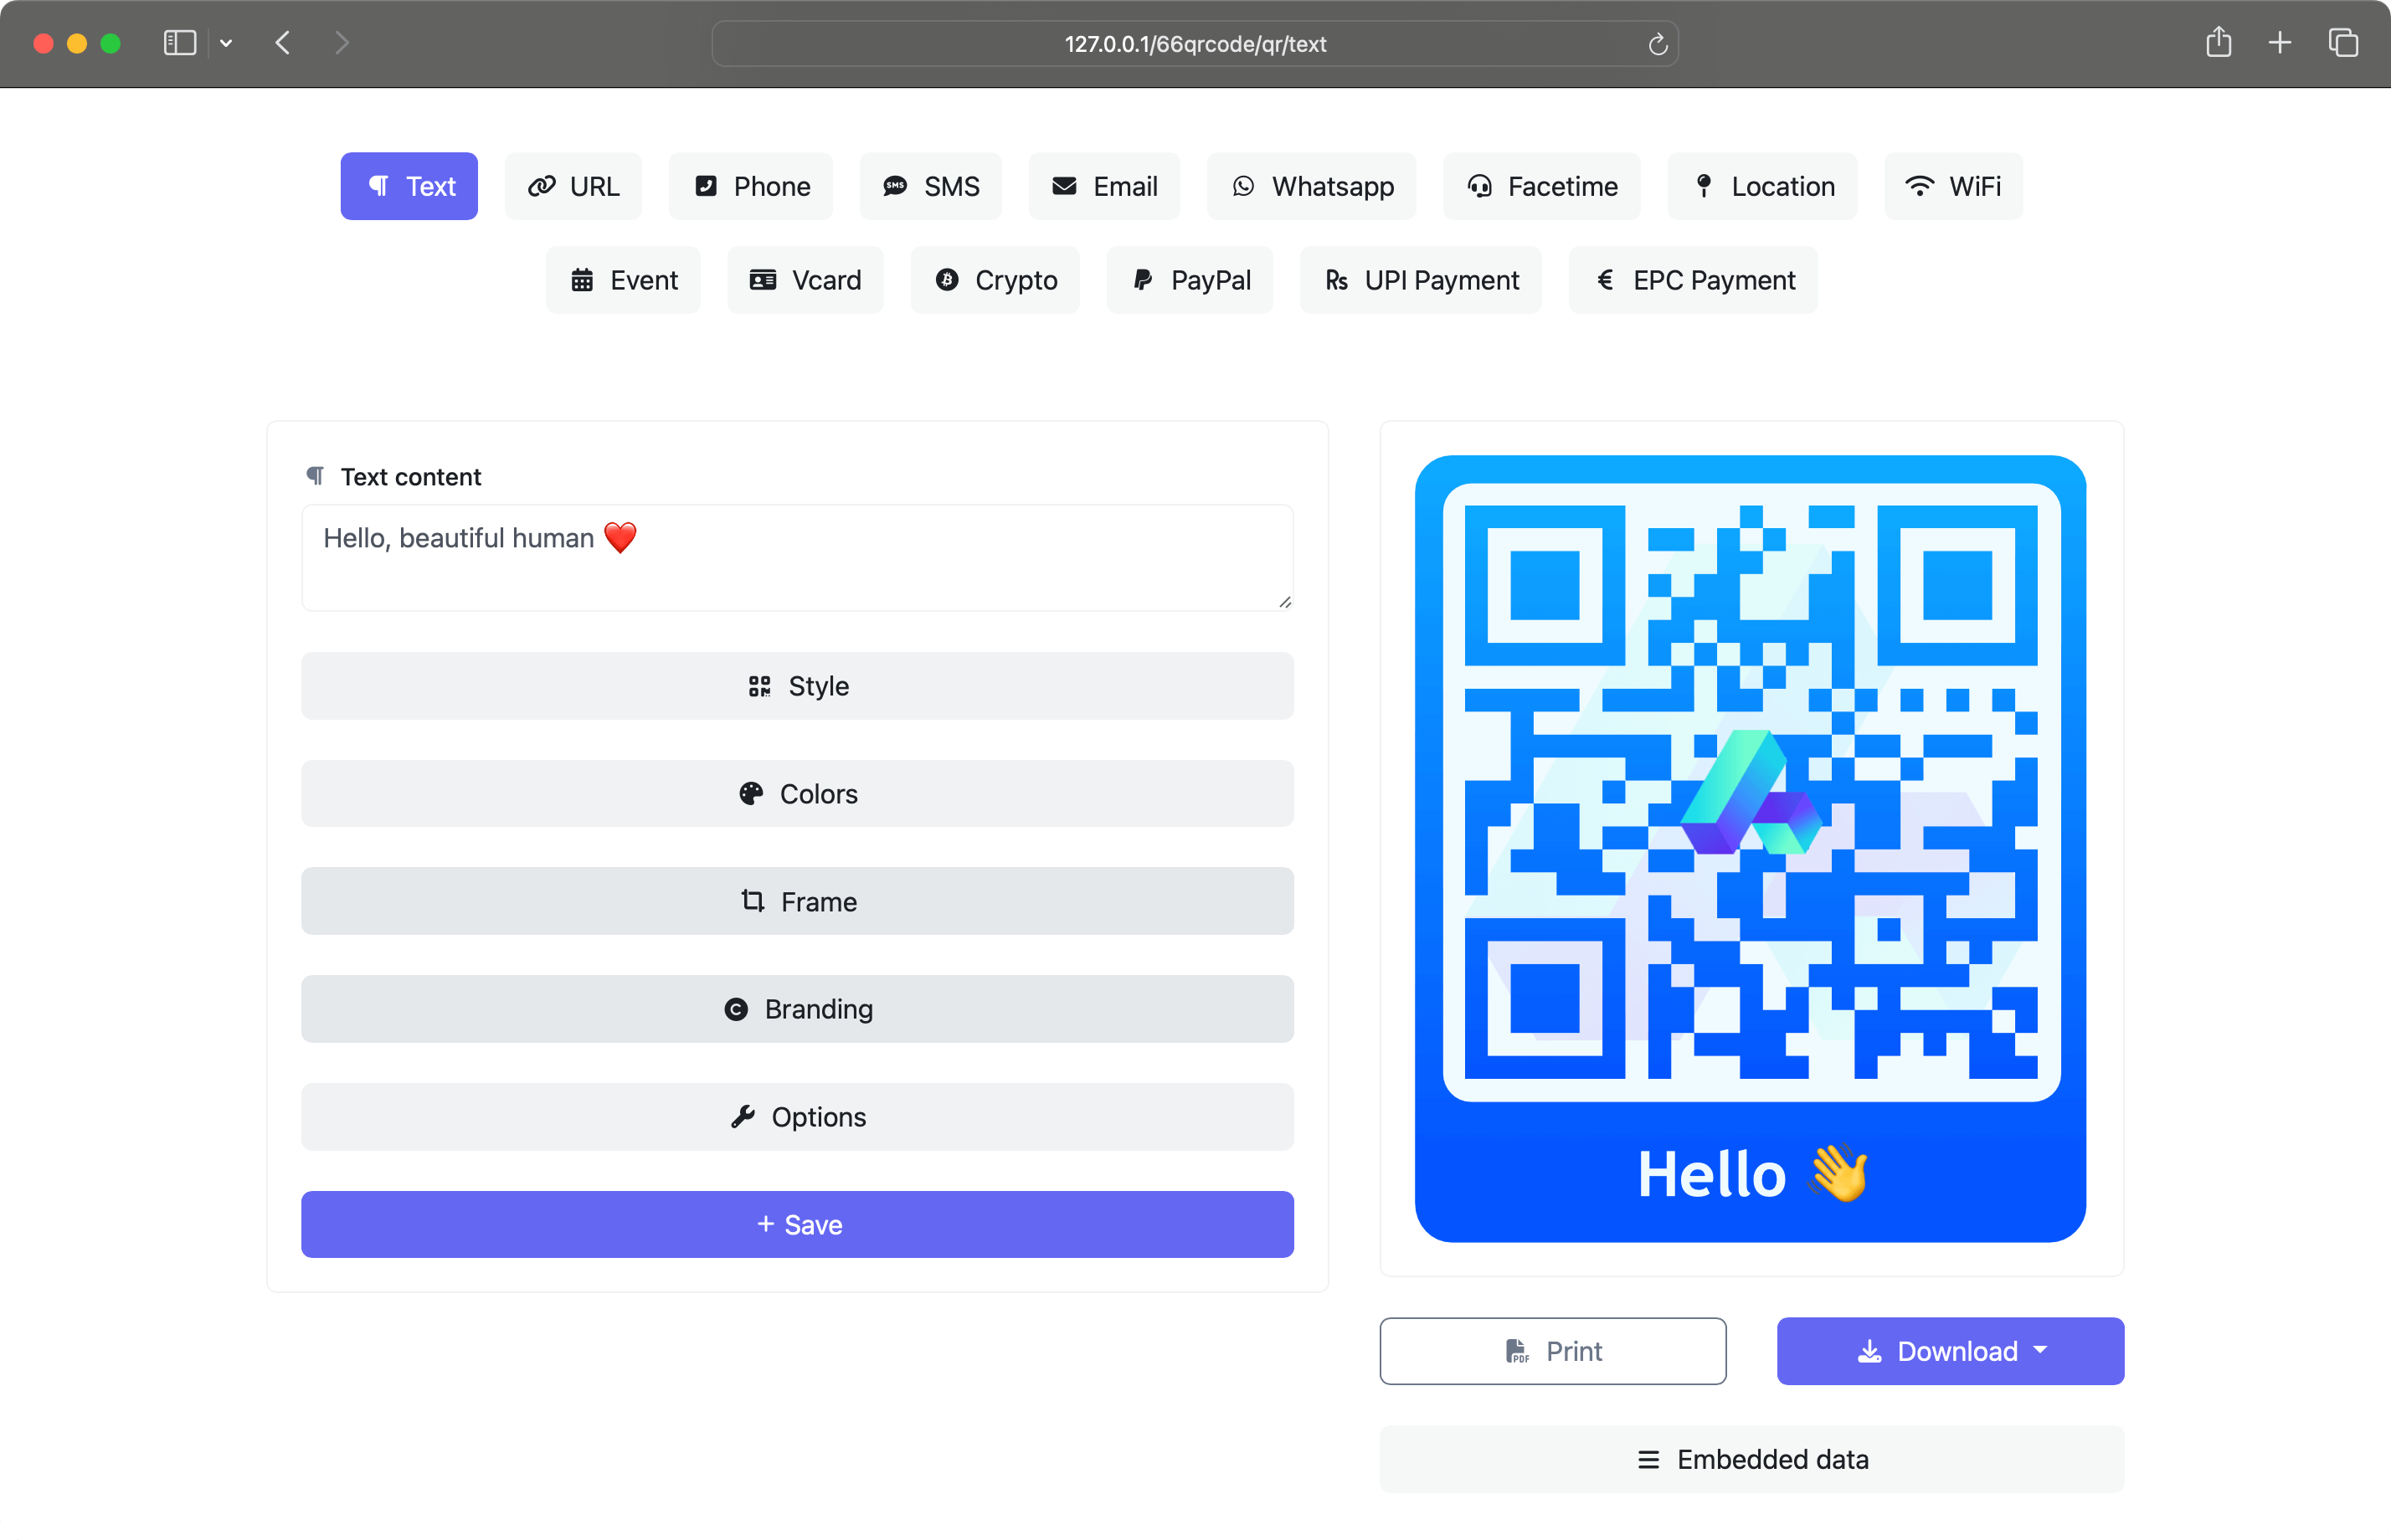
Static QR codes
Static QR codes are permanent, with all data embedded directly into the code. Once created and printed, the information cannot be modified.
-
Fully customizable
-
No scan limit
-
No data saved on our servers
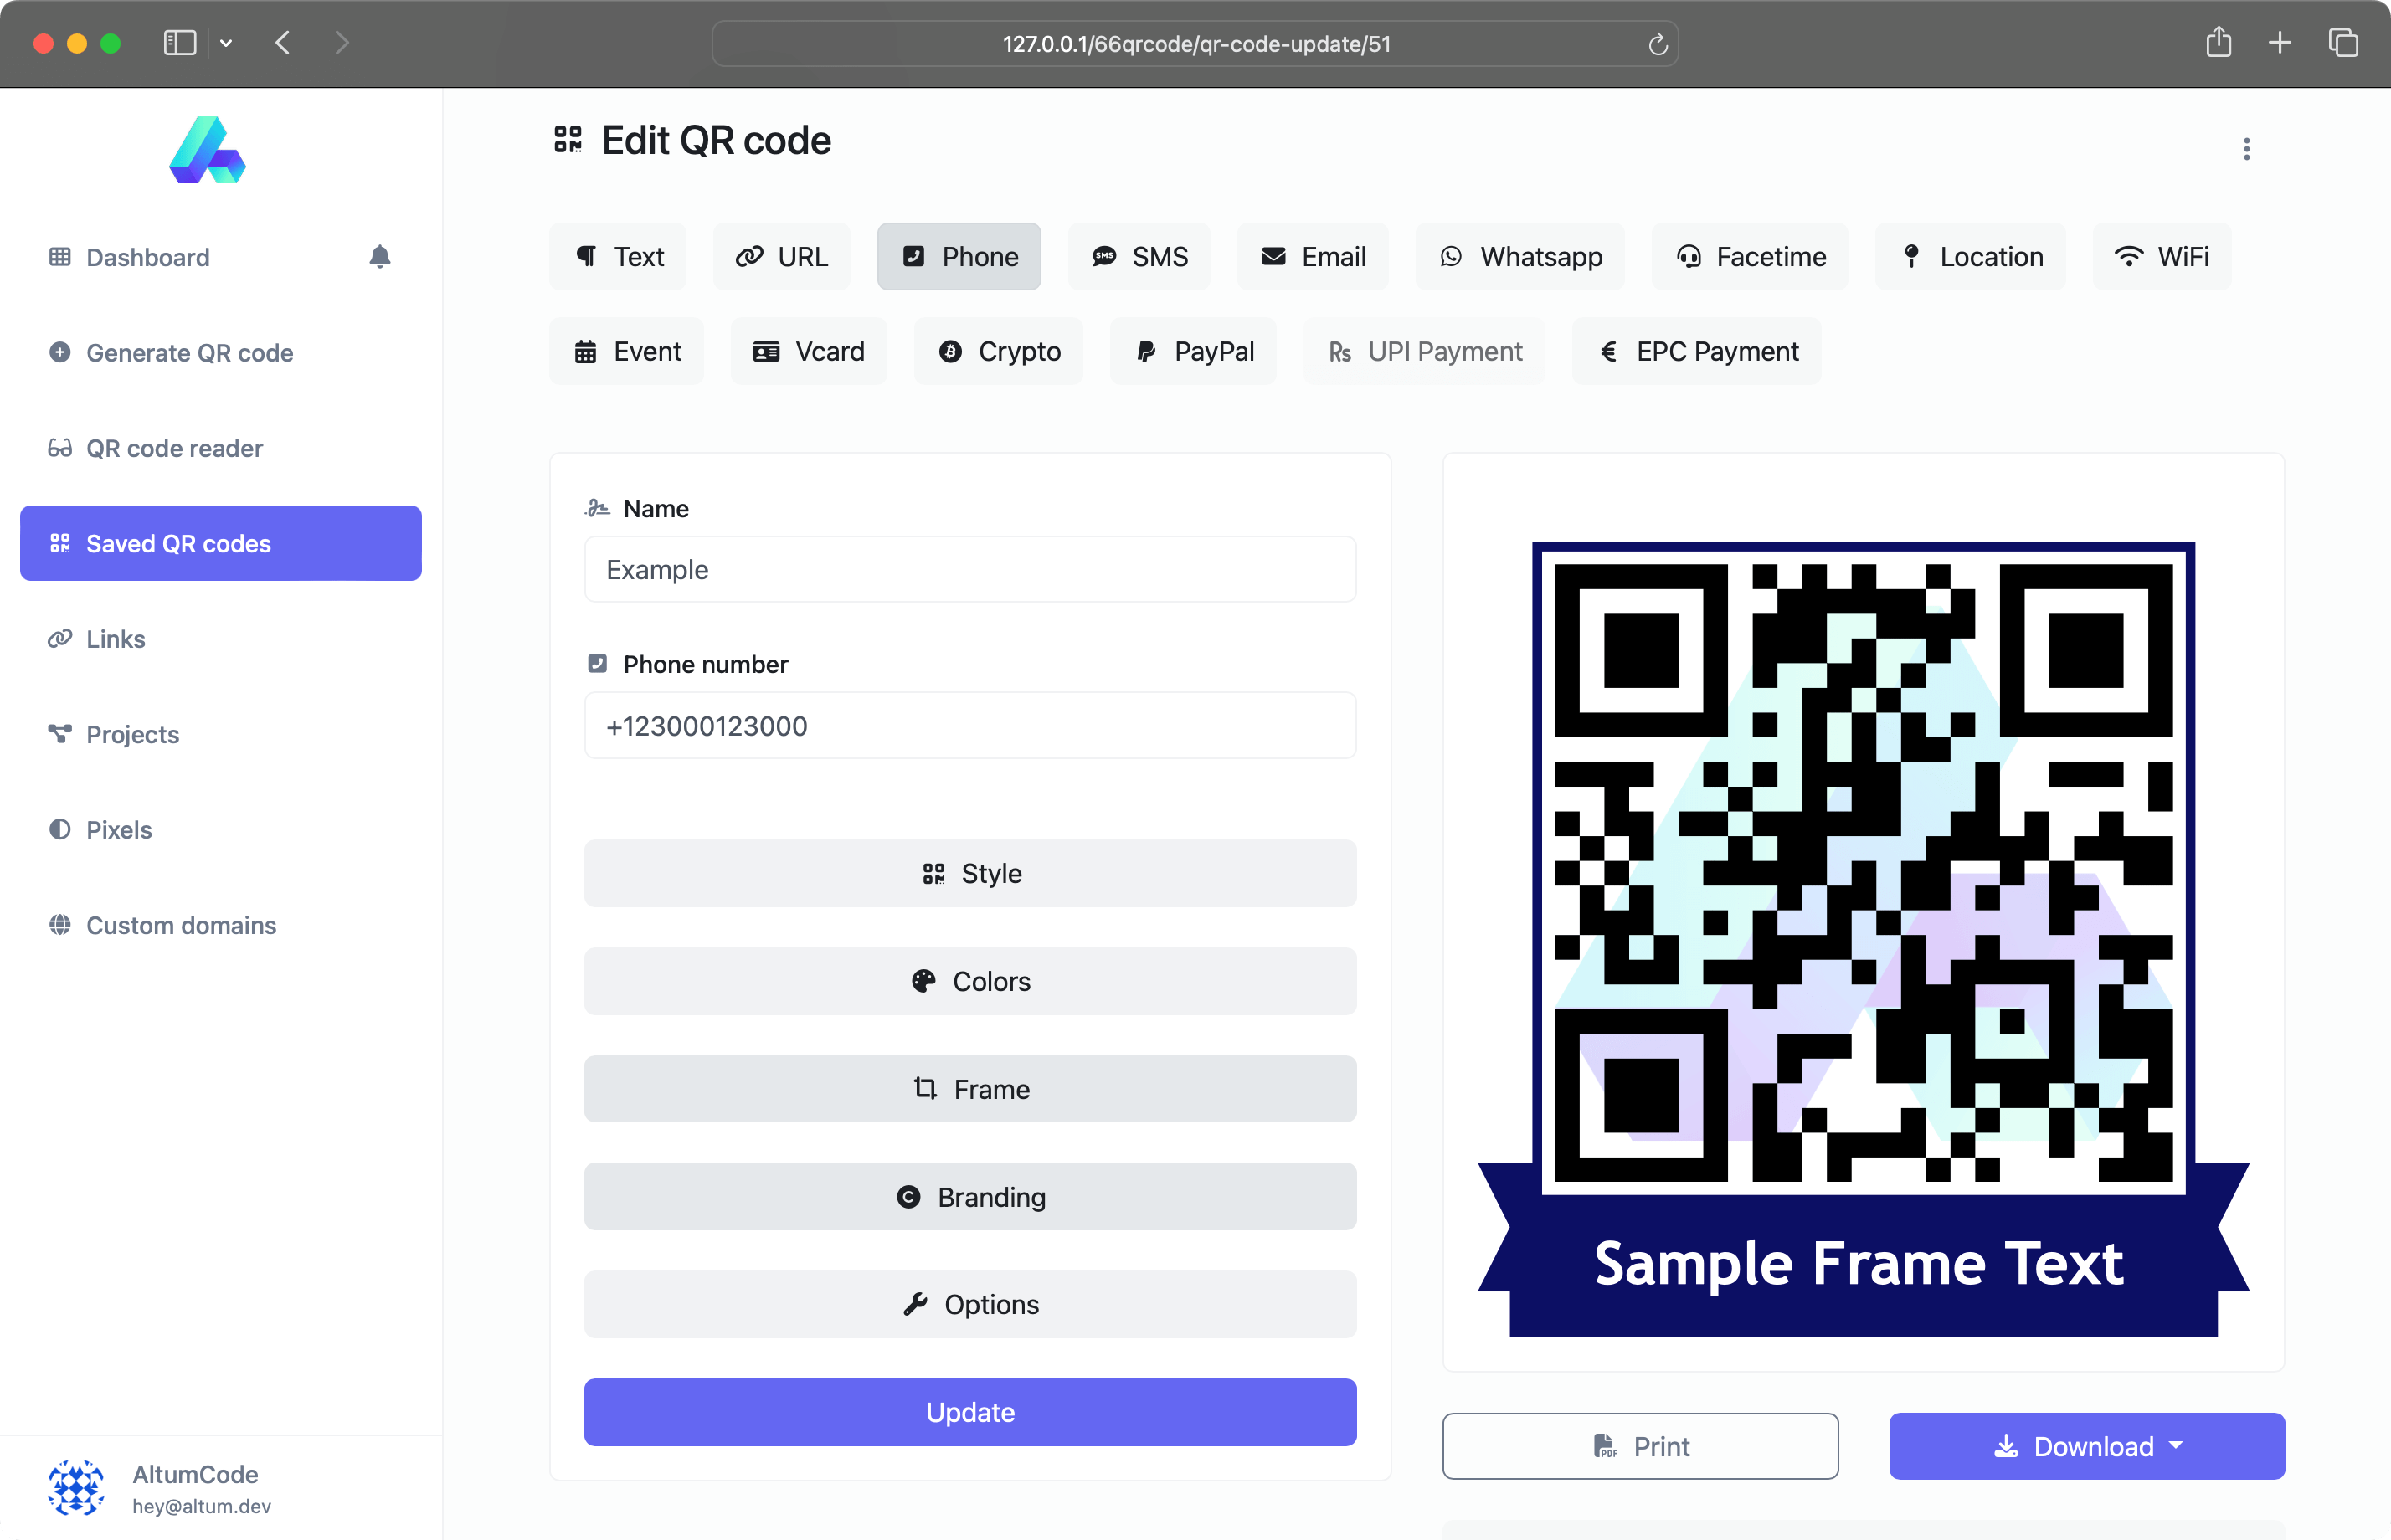
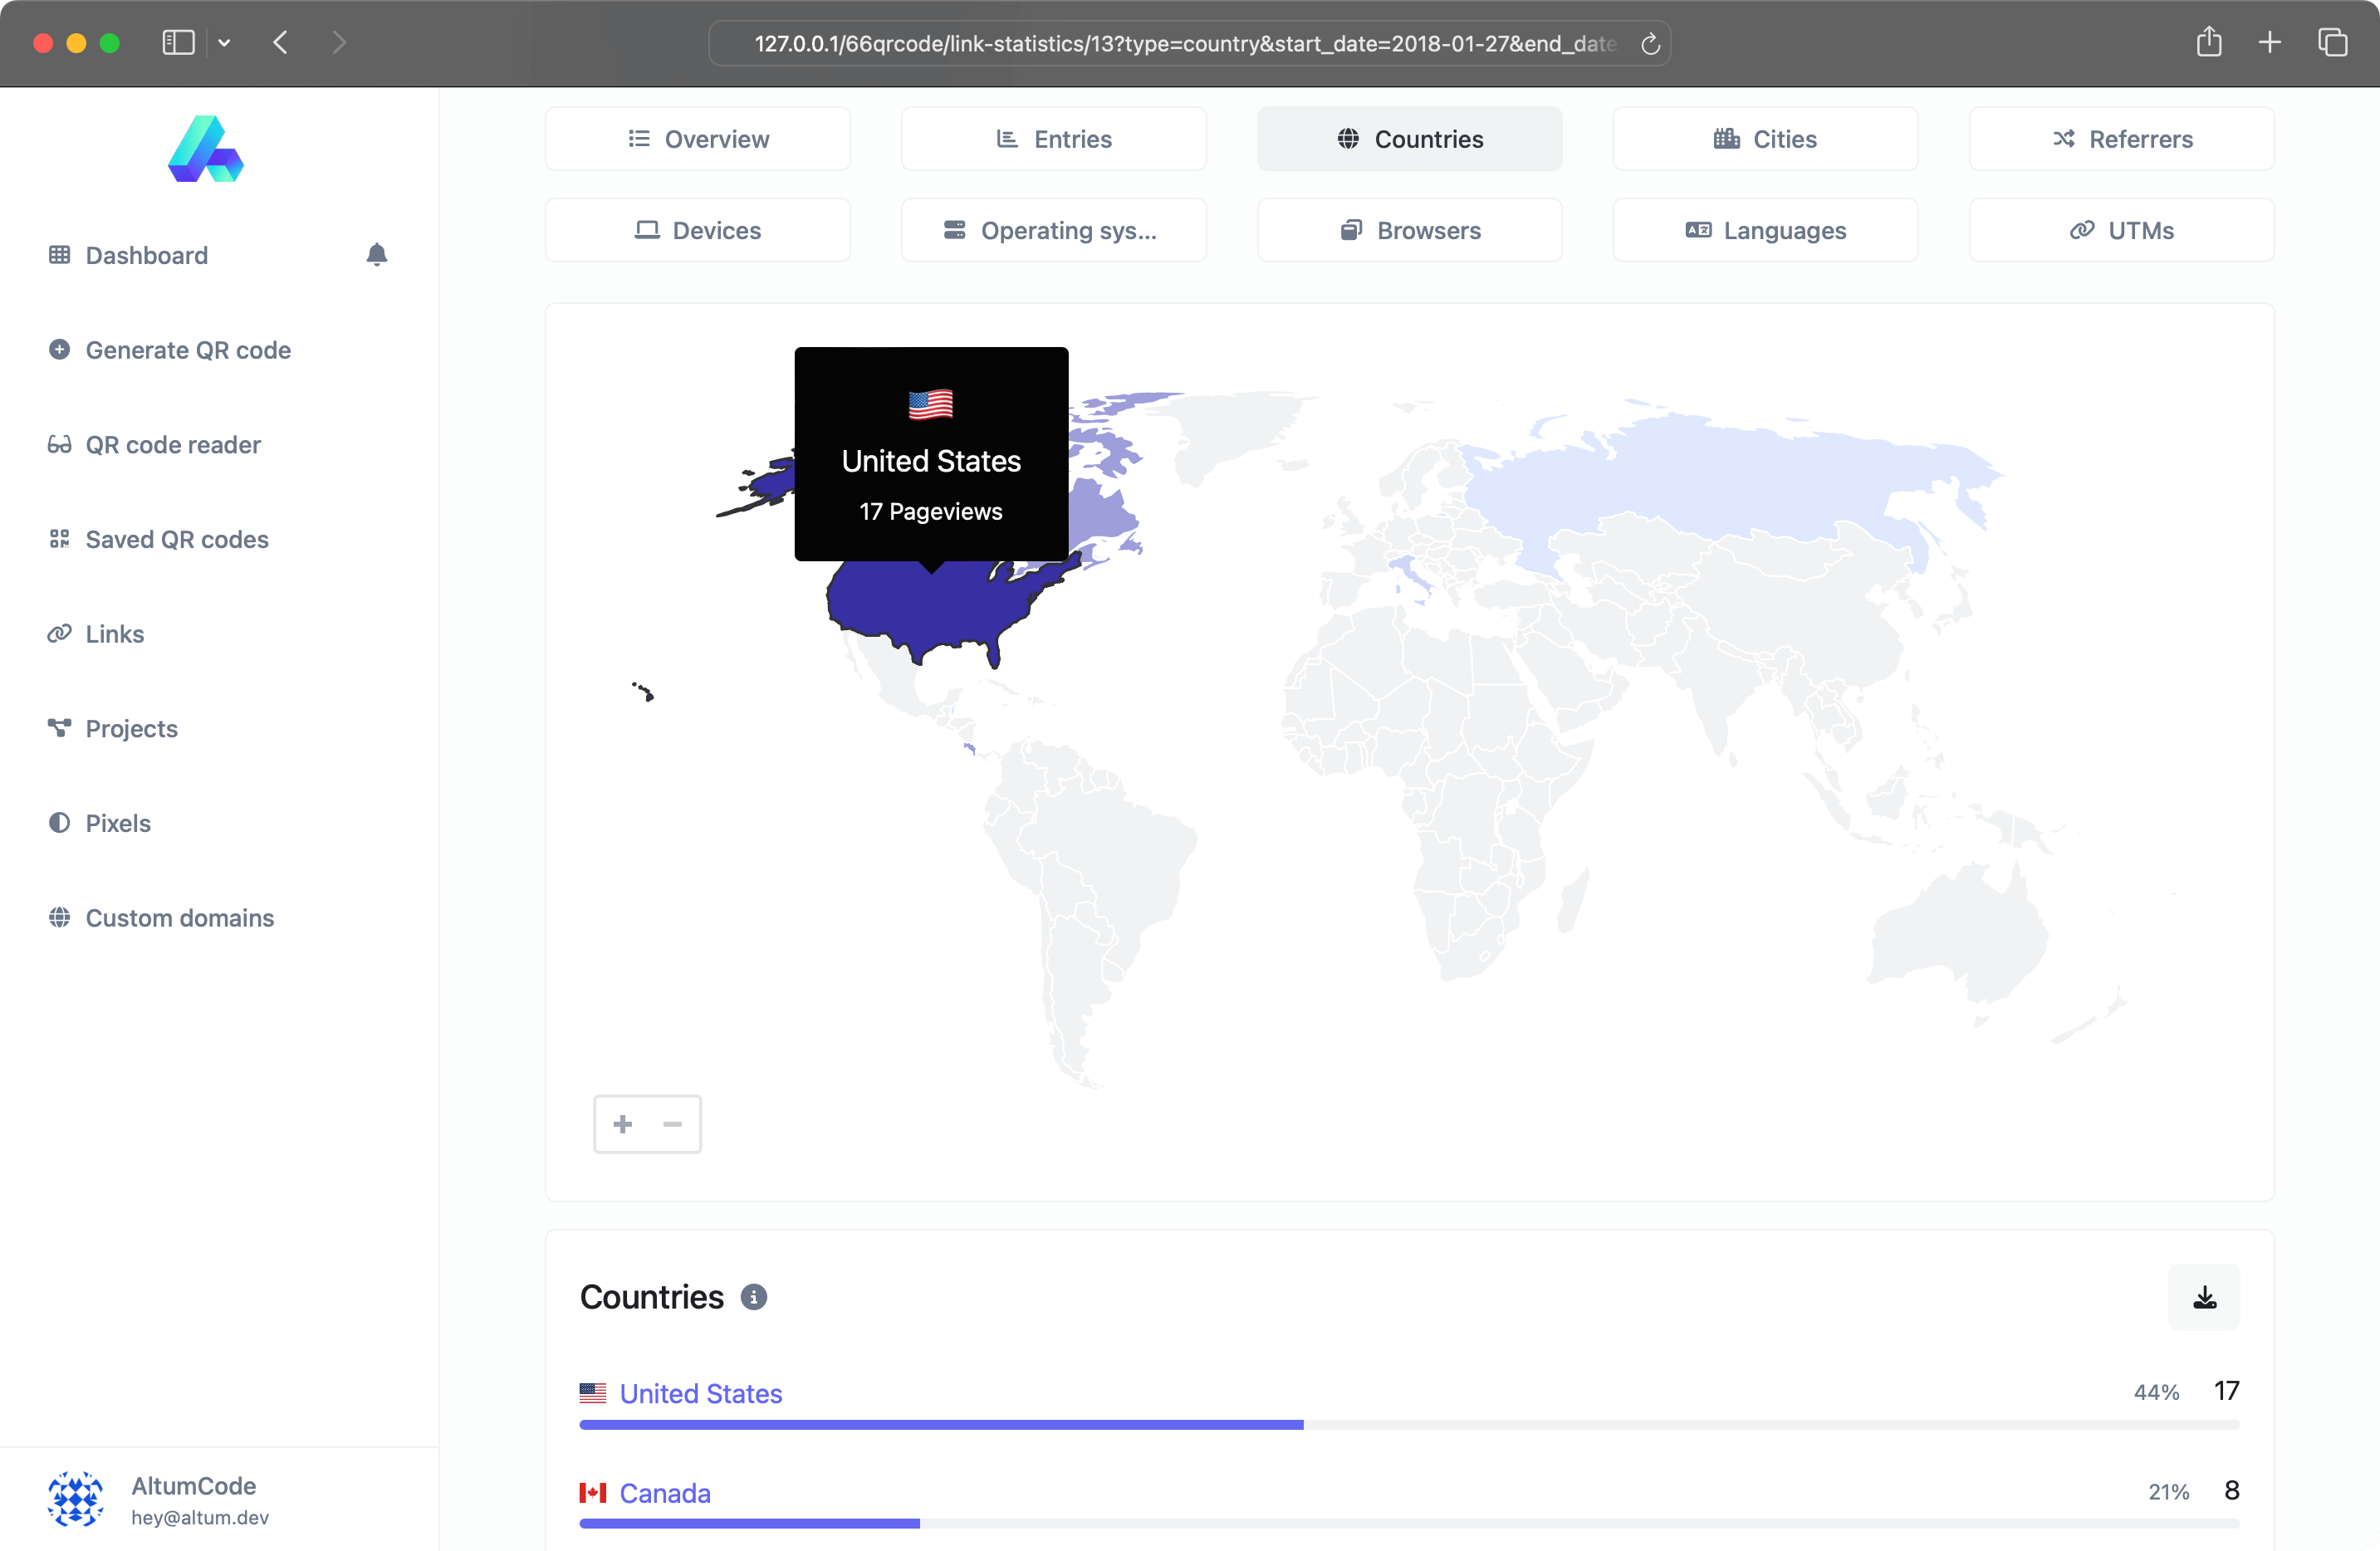
Dynamic QR codes
Dynamic QR codes let you update the destination at any time. This flexibility is powered by our Links tool, which integrates various technologies to make the process seamless.
-
Advanced scan statistics
-
Change URL destination dynamically
-
Scheduling, expiration limits, A/B Rotation
-
Password protection
-
Country, device & language re-targeting
A handful of QR code templates
Get started with the most in-demand and used QR code templates.
Barcode generator system
We've got it all. Use our barcodes system to easily generate barcodes.
C39E+
Generate C39E+ barcodeITF14
Generate ITF14 barcodeC128A
Generate C128A barcodeC128B
Generate C128B barcodeC128C
Generate C128C barcodeEAN13
Generate EAN13 barcodePOSTNET
Generate POSTNET barcodePLANET
Generate PLANET barcodeTELEPENALPHA
Generate TELEPENALPHA barcodeTELEPENNUMERIC
Generate TELEPENNUMERIC barcodeRMS4CC
Generate RMS4CC barcodeCODABAR
Generate CODABAR barcodeCODE11
Generate CODE11 barcodePHARMA
Generate PHARMA barcodePHARMA2T
Generate PHARMA2T barcodeURLs that open apps automatically
Short links that automatically detect the used app and open it on mobile.
Developer ready
Fully featured & easy to use API system for developers.
--url 'https://taazamind.com/api/links' \
--header 'Authorization: Bearer {api_key}' \
--header 'Content-Type: multipart/form-data' \
--form 'url=example' \
--form 'location_url=https://taazamind.com/' \
Why people love us

“ This platform completely transformed the way we manage our workflows. It’s intuitive, fast, and has saved our team countless hours every week. ”

“ I was skeptical at first, but within days, I saw how much more productive our team became. The support team is also incredibly responsive. ”

“ We’ve tried multiple tools before, but nothing comes close to this. The onboarding was smooth, and our entire team was up and running in no time. ”
Simple, transparent pricing.
Choose the plan that is right for you and your budget.
Answer for your common question
Get started
Super easy & highly customizable static or dynamic QR codes.